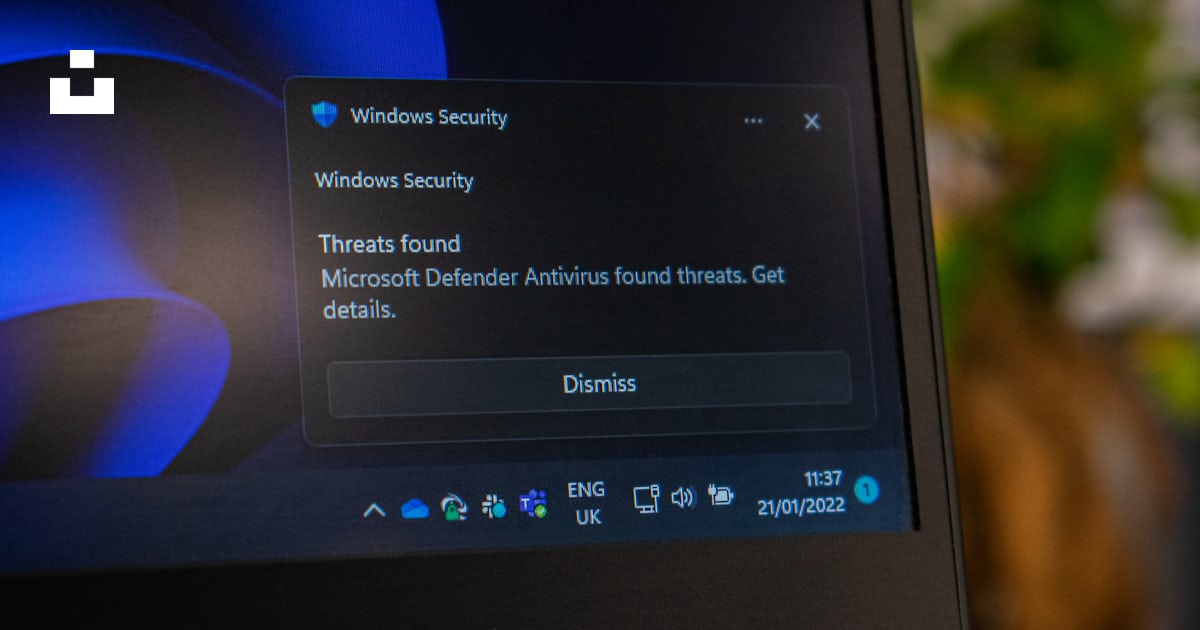
# Disabling AntiVirus or Windows Defender: A Comprehensive Guide
The need to Disable AntiVirus or Windows Defender may arise due to a variety of reasons. In some cases, security software can interfere with the installation or execution of certain applications. This guide will provide a step-by-step approach to disabling your AntiVirus or Windows Defender, ensuring that you can operate your computer without any unwanted interruptions.
Understanding the Need to Disable Security Software
Before delving into the process of disabling your security software, it is essential to understand the reasons behind such a decision. Here are some common scenarios where turning off your AntiVirus or Windows Defender may be necessary:
Software Installation
Certain applications may require you to disable your AntiVirus or Microsoft Defender during the installation process. This is because the security software might flag the installation files as potentially harmful, causing the process to be halted.
Software Execution
Some programs may not run properly or may be detected as false positives if your security software is active. In these cases, disabling your AntiVirus or Windows Defender temporarily can help address the issue.
Performance Issues
In some instances, your AntiVirus or Windows Defender may consume a significant amount of system resources, leading to slow performance. Disabling the security software can help improve the overall performance of your computer.
Identifying the Security Software on Your Computer
To effectively disable your AntiVirus or Windows Defender, it is crucial to identify the specific antivirus applications installed on your computer. Here are some common security software programs:
- Windows Defender (now known as Microsoft Defender)
- Norton AntiVirus
- McAfee AntiVirus
- AVG AntiVirus
- Avast AntiVirus
Once you have identified the security software installed on your computer, you can proceed with the steps to disable it.
Disabling Windows Defender on Windows 10 and Windows 11
Microsoft Defender is the default security software on Windows 10 and Windows 11. To disable it, follow these steps:
Step 1: Open the Windows Defender

- Press the
Winkey on your keyboard and type “Windows Security” in the search bar. - Click on the Windows Security app to open it.
Step 2: Access the Virus & Threat Protection Settings
- In the Windows Security app, click on “Virus & Threat Protection.”
- Scroll down to the “Virus & Threat Protection Settings” section and click on “Manage Settings.”

Step 3: Disable Windows Defender
- In the “Virus & Threat Protection Settings” window, toggle off the “Real-time Protection” switch.
- If prompted, click “Yes” to confirm your decision.

Note: Disabling Microsoft Defender will leave your computer vulnerable to threats. Ensure that you enable it again as soon as the task requiring its deactivation is complete.
Disabling Third-Party AntiVirus Software
The steps to disable third-party AntiVirus software may vary depending on the specific application. However, the general process is as follows:
Step 1: Locate the AntiVirus Icon
- Find the icon of your AntiVirus software in the system tray (usually located at the bottom right corner of your screen).
- Right-click on the icon to access the context menu.
Step 2: Access the AntiVirus Settings
- In the context menu, look for an option that reads “Settings,” “Configuration,” “Preferences,” or something similar.
- Click on the appropriate option to open the settings window for your AntiVirus software.

Step 3: Disable the AntiVirus Protection

- In the settings window, locate the option to disable the real-time protection or scanning feature.
- Toggle off the switch or uncheck the box, depending on the specific application.
- If prompted, confirm your decision to disable the anti-virus protection.
Note: Disabling third-party AntiVirus software will expose your computer to potential threats. Make sure to re-enable the protection as soon as the task requiring its deactivation is complete.
Updating Your Microsoft Defender
Occasionally, security software may experience false positives due to outdated definitions or bugs. Ensure that your AntiVirus or Windows Defender is up to date, as this can resolve issues without resorting to disabling the protection.
Conclusion
Disabling your AntiVirus or Windows Defender should only be done when absolutely necessary. By following the steps outlined in this guide, you can safely and effectively disable your security software to perform specific tasks. Remember to re-enable your protection as soon as possible and explore alternative solutions before resorting to deactivation. Stay vigilant and keep your computer protected from potential threats.
It is not recommended to disable your AntiVirus or Windows Defender permanently as it leaves your computer vulnerable to threats. It is best to keep your security software enabled for ongoing protection.
Disabling your security software exposes your computer to malware, viruses, and other threats. It is important to only disable it temporarily for specific tasks and promptly re-enable it afterwards.
To re-enable AntiVirus or Windows Defender, follow the same steps mentioned in the guide but toggle on the “Real-time Protection” switch in the settings. Ensure your computer stays protected by promptly re-enabling your security software.
Yes, there are alternatives. You can add exceptions or whitelist specific files, folders, or applications to prevent security software interference. Compatibility modes can also be used for older applications. These methods help avoid disabling the entire protection suite.
If you encounter issues during software installation or execution, such as false positives or blocked processes, it may be necessary to temporarily disable your security software. Check the software documentation or contact the application’s support for guidance.